How can I save contacts and add contact information in Scope?
You can store contact information in the partner application. Add Phone, Email, Fax, Description, Roles to a contact person.
Start: Master Data > Partner
- Select a partner (Company) from the list or search for it.
- Open the partner and select the Contacts tab.
- Click New... on the bottom left.
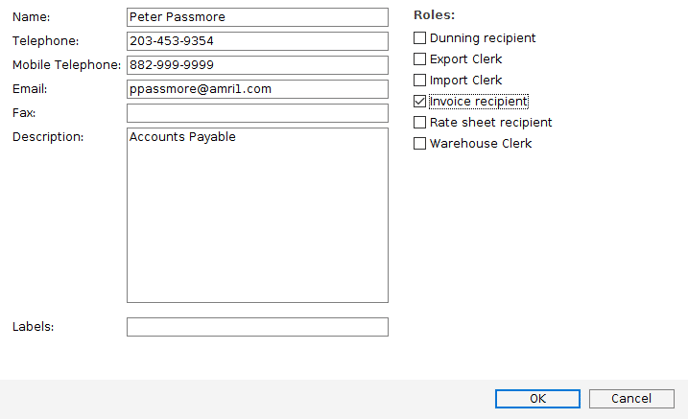
- Now enter the details for the new contact

What is the Roles option for?
If the contact has any of the defined roles show above, then be sure to check it. In this example, Peter Passmore is an invoice recipient. By giving Peter this role, the next time we make an invoice to Peter's company, Amri Incorporated, if the invoice is emailed from within the invoice application, Scope will automatically use Peter's email as the default email address. - Click OK when done, to save.
Example of use
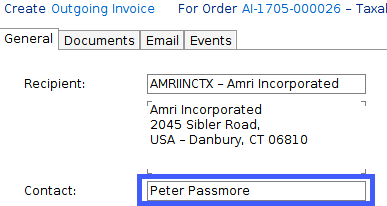
In this example we make an invoice to Amri Incorporated. As soon as we create the invoice, the Contact field is automatically filled with "Peter Passmore". This can be changed if needed.
Now when we email the invoice the email will automatically use Peter Passmore's email address.
If a different email address is to be used, then start typing in the name or hit the space key in the "To:" field and Scope will display all saved contacts for this partner.
Auto email to customer (Debtor)
If you want Scope to automatically email the invoice to the customer as soone as you hit Print in the invoice, the create the contact details as described above, but in addition, in the partner application follow the steps of this article: https://service.riege.com/en/knowledge/how-can-i-set-a-debtor-for-automatic-email-invoicing.
